

This simple shot against a white section of my studio was simply lit with 2 hard lights (Bowens heads with 7" reflectors and grids). The low angle viewpoint was inspired by the classic Holywood portraits.
It was my first ever studio lighting workshop at my own studio and I absolutely loved the process of starting to unlock the bijou spaces potential. At just 6.5m x 4.6m the Lovegrove studio is very compact. The high vaulted ceiling adds to the space and lets me get the lighting rig up and out of the shots. Here are 20 of my shots from the day.

2 hard lights and a grey background are the key ingredients to this exercise in lighting control. I showed how to make a grey background black, white or indeed any shade of grey.
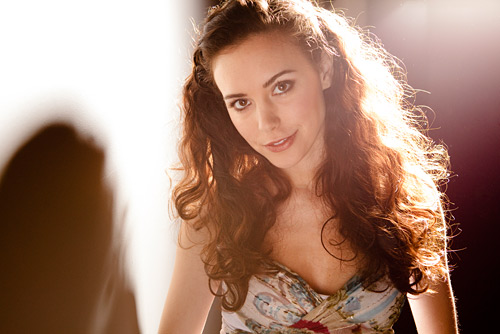
The same grey background is here on the left of this shot. In the studio you can mix up looks with complete control. Every bit of light in the room is under control.
The format worked very well indeed. 1 model (Sarah Beaufoy), 1 make up artist (Vicki W), 3 shooting delegates and me. We used Pocket Wizard Minis and Flexs on standard non TTL mode to trigger the Bowens lighting.
I started the session with a tutorial on hard and soft light showing how to shoot with each, keeping things simple. Setting lights is an inch perfect process in the studio whatever type of light you use. Lighting relative to the subject not the camera position is the second part of the tutorial phase of the day.
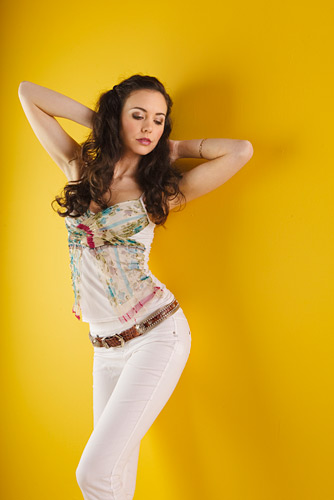
I introduced the delegates to colour and showed how the tones shifted with relative brightness. Just a few degrees of twist on the Wafer softbox changed the mood of the shot completely.
The yellow in the shot above is courtesy of Dulux, The light was provided by a softbox and bounced light off a nearby wall. Simple soft 2 point lighting is easy to shoot with but soon becomes boring.
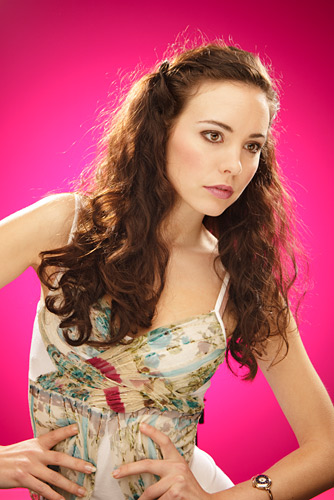
The pink here was created by a gel on a single Bowens flash head pointed at my grey studio wall. Two 3/4 backlights, a softbox and a Triflector all added to the look.
It might be fun shooting with strong vivid colours, they are fine for children shots but the resulting photographs can be hard to place in clients homes. Once I had explained the relationship with Hue, Saturation, Luminance and the the shade of grey, flash power and gel colour it was time to get control back and use subtle colours.
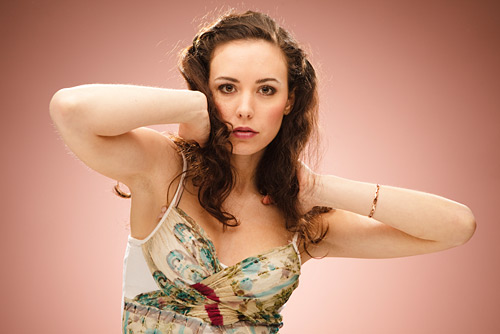
Selecting gel shade and flash power is a bit like selecting oven temperature and baking time when making bread. Yellow can become brown etc. I look for colour inspiration in skin tones, hair colour and clothes.
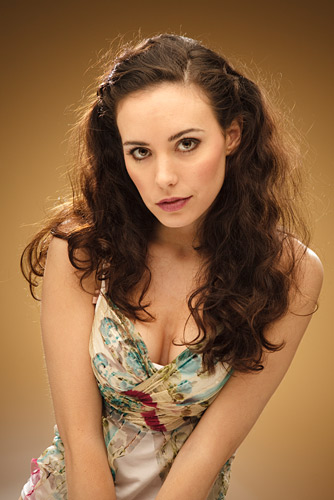
A different gel and a different mood. The background is a grey painted wall.
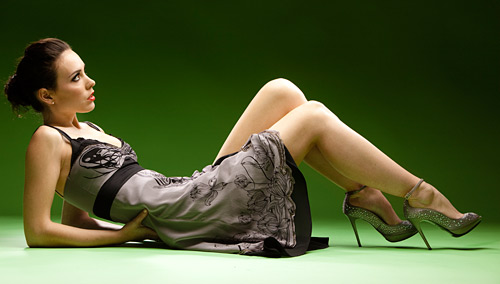
This background is a roll of green paper. The light is one Wafer softbox. We all switched our cameras picture style mode to monochrome for this and the next set of shots.
I’m showing you the above shot in green so you can see what the background was like for the next 7 shots.
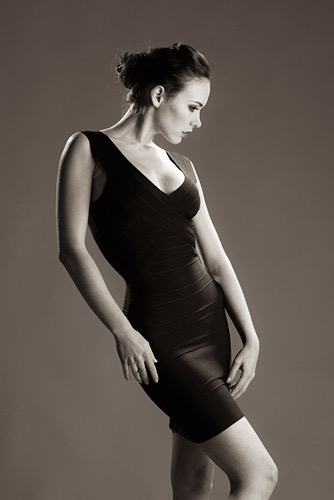
We shot from the next door room lying on the floor to get the perspective and viewpoint right for this next sequence. Just a few minutes shooting can make a multiframe masterpiece.
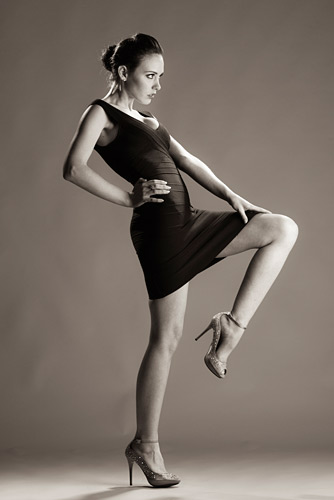
Simple 3 point lighting and great exposure control was needed for these shots.
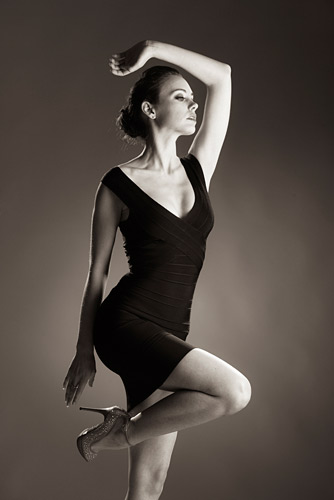
These shots are inspired by the work of John Swannell.
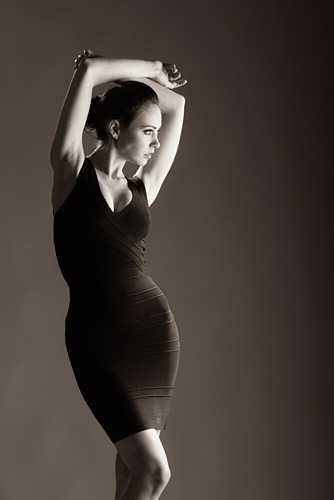
A little known fact: Sarah, our model was a finalist for the Miss Universe competition.
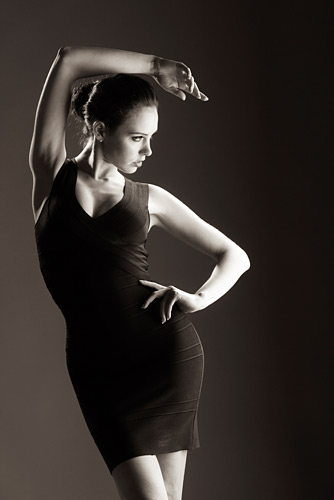
I introduced a left to right background gradient. This places dark tones against light ones on the left of the shot and light tones against dark ones on the right.
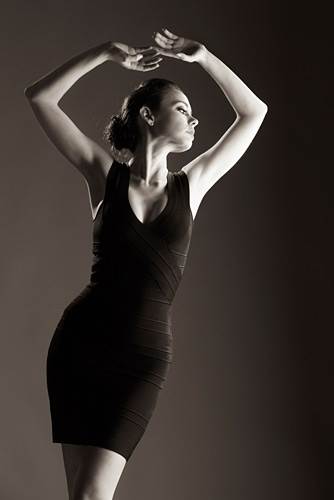
Vicky Waghorn, our make up artist helped Sarah with her hair and the Spandex dress completed the look.
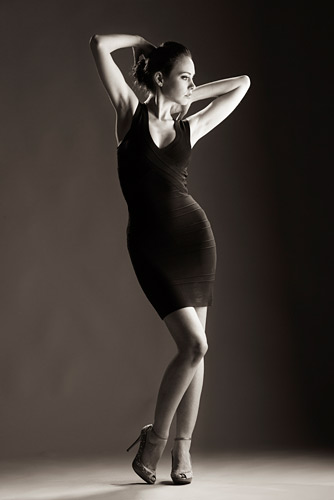
I used a 70-210 lens for these shots.

Back onto colour. The background paper was the colour you see here.
Four lights were used for the colour shots here. We all used the same lens with my fabric diffusion filter. I like to get the look in camera as close to the finished picture as I can.
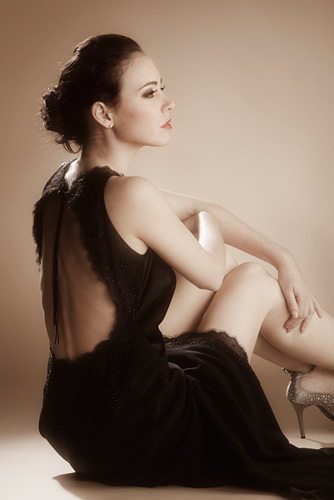
I used the same lighting here as I do for some of my ballet shots.
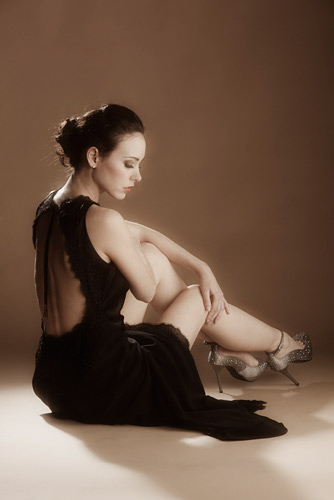
Elegance and posture are key ingredients in shots like these.
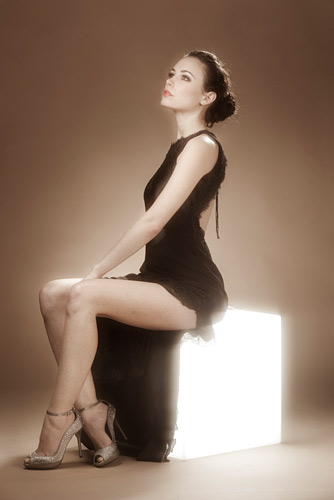
I couldn't resist getting my magic cube out for a shot or two. I used a Canon 580EX2 Speedlite triggered by a Pocket Wizard Flex TT5 inside the cube.
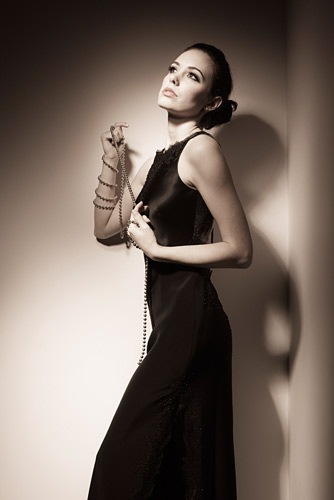
Two simple hard lights mimicking the look of a single Arri. The Arri is a far better tool to use but I chose to stick with studio flash.
The format of the day worked well and I’ve added two more dates for this intimate 1:3 workshop on my website here. Join me in February on a studio lighting workshop. Please feel free to comment below.
these pictures are really good .
Thank you Melanie.
Just found this post Damien. Stunning images and great control of the lighting. Its amazing how sometimes how you can become so focused on the ‘pose’ that you forget the importance of the lighting to finish the shot and give it that extra dimension. Inspirational !!
Hi Andrew,
Thanks for your kind words. Lighting is so important but it’s best to get it right and sorted then you can get on with the posing etc. It all needs to come together in harmony.
Kind regards,
Damien.
Great control of lighting..love the placement of hands
Thanks Will
simply loving,i fall in love of your blog
Thanks Nitin :)
Hello Damien,
We met at Focus and you managed to get my friend Tina and I to purchase a speedlight mastery dvd each within about 2 minutes. It was well worth the money, thanks. I wonder if you could give me some advice re a way forward in developing some indoor portrait set ups with a plain backdrop.
I currently have 1 speedlight and would like to purchase a portable backdrop to be able to take portraits indoors without distractions. Which would be the best/most cost effective backdrop to buy. Also what are the pros and cons of getting more speedlights or some studio lights for these set ups? I read somewhere on your site that you were considering running a speedlight studio portraits workshop – are there any dates for this yet and what would it involve? Thanks
Portia
Hi Portia,
First of all thanks for the feedback on the Speedlight Mastery DVD. I don’t use backdrops as such other than paper rolls. These can be bought from Calumet or Morco. Do a Google search if you want a mottled painted background. I suggest you will need a Lastolite Ezybox Hotshoe 60cm for your Speedlight in the first instance. I’m not expecting to do a studio lighting workshop with Speedlights as there are cheaper, more powerful and more versatile studio lights available. Speedlights are not a great tool for studio shooting, you can certainly get by with them but most studio shooters opt for bigger mains operated studio flash heads. Irrespective of what flash lighting kit you use the principles of how to light in a studio stay the same. I suggest you join me on a studio lighting workshop. I will include Speedlights integrated with large flash at some point in the day. All the details you need are here.
Regards, Damien.
For a such a small place your work is even more amazing to me,, You have great control of your lights.
cheers
Barry
Would love to see some shots of your studio. The zone idea is great.
Hi Barry, I’ll shoot some more studio shots soon. It’s so small (5m x 7m) I can only show a small bit at a time ;) Damien.
Hi Damien,
Have you any more Studio days planned in the future as all your Feb dates are now filled???
Neil.
Hi Neil,
Tuesday 13th April is going to be the next studio lighting workshop day. Luke will make it live and available for booking in the New Year after the break. The distant date is because all my available workshop dates are taken before then and my diary is full. If the Nikon Pocket Wizards don’t arrive in January as expected then I’ll be releasing other diary dates for Studio Lighting Workshops. I’ll offer transfer places to those that booked on the April date in the first instance if they want to bring their booking forward and then I’ll put the remaining places online.
Kindest regards, Damien.
Hi again Damien,
Great pics – having an attractive model who can pose makes a huge difference obviously.
Anyway…..
I’ve never found a good explanation of the difference between a snoot and a grid on a Speedlite – both do the same thing right? Is there something I’m missing?
In my tests, a grid seems to take the harsh edge of zoomed light, less of a hot spot.
All the best.
Hi Deniz,
A snoot often displays a spot of light with a pattern of concentric rings, as the light can be reflected off the internal walls of the snoot. A grid can display a spot of light with a feint pattern of the grid itself. This depends upon the shape and size of the flash tube. The smaller the flash tube the harder the shadow of the grid. There are many times where a snoot is the best tool and the same can be said for grids. Generally speaking grids produce softer light than snoots. If you want to learn more why not join me in my studio on the next workshop? Details are here Both the dates shown are full but Tuesday 13th April will become available very soon. Regards, Damien
Cheers Damien.
Hi Richard,
Switching the picture style to mono is quite exciting when you start to compose with shape, texture and tone alone.
Thanks for the compliments,
Damien.
Love your monochrome images, makes we want to pick up my camera put in mono mode and carry on like that for good.
Your studio works great.
I am with Will on this !! Have you been on posing course?
I think these are ….. magic. If your studio makes this much difference I hope you continue remeber where it is.
Cheers, Kevin – I may be a bit of a poser at times but I’ve never been on a course to learn how to do it :)
Cheers Will.
Hi Matt,
Thanks for your kind words. The shade of grey is quite important and so is the light level through the gel. White studios are the hardest to work in that’s why most of my walls are dark grey.
Cheers, Damien.
Hi David,
The background colour is called Coffee and is in the Colorama collection.
Kind regards,
Damien.
Love the use of coloured backgrounds…great poses in colour and black and white
I’ve tried a few times to get gels looking as good as your colours, but never succeeded! but I feel inspired to try again!
That pink is amazing…. especially when considering its on a grey background.
The monchrome series are gorgrous.
I so need to attend one of your workshops….
Hi Damien. I absolutely love the colour of the background paper in the last series of shots. I’ve been hunting round the usual web sites to see if I can see it but difficult to see an exact match. Looks like it could be from a tree or nut series – which one is it???
Cheers
David
Hi Rob,
Thanks for your words of encouragement. I love a minimalist approach and I try to get the basics right rather than rely on gimmicks if that makes sense. The best shots by other photographers in my inspiration folder or ‘look book’ are the simplest. The work of Vincent Peters deserves a mention.
Regards, Damien.
vincent peters is one of the most inspirational and friendliest photographers your gonna meet, i met him in paris and in london, and he taught me way to much lol
Hi Keith,
I’d love to meet Vincent Peters one day. He’s been an total inspiration for me.
Cheers, Damien.
Hi Carole,
Your energy and enthusiasm was great to bounce off. I really enjoyed the two days we spent shooting and I thank you for your kind endorsement of my latest workshop.
Best wishes, Damien.
Hi Damien,
I love how you always succeed in getting a maximum result out of a (almost) minimal setup, whether on location or in the studio. Compliments. Well, the models don’t hurt either ;-)
Regards, Rob
Thanks Damien it was a brilliant day that has totally changed the way I will shoot in my studio. I loved it from begining to end and have some great ‘wow’ shots to look back on. Its amazing to see how much can be done in a studio of that size and see the different effects of the lighting accessories. Having only 3 people made it very relaxed and comfortable. Of course Sarah was a star and Vicki did a wonderful job : )
Another workshop that I’m sure will be very popular and which I would recommend to anyone.
Hi Mark,
Thanks for your splendid comment. Changing picture style when shooting raw leaves the raw file unaltered but renders the changes on the camera screen. It’s great to compose the lighting balance for mono whilst looking at mono shots. If you shoot jpeg there is no going back ;-)
Cheers, Damien.
Hi Guys, The dimensions are in line 2 of the post knowing they are important ;) I have beams and a steeply pitched roof, so the height varies. The top rails of my Hi-Glide track system that I bought for £250 on Ebay are 3.25m off the ground. This is the absolute minimum for such a set up. As described in the post we shot from the next door room with the 200mm in order to get the long shots. We shot through an open door that I had installed in the studio a few months ago.
Regards, Damien.
Exquisite,,,,,,,,,,,,,,,,,,,,,,,,,,
I must try changing my cameras picture style mode to monochrome.
Mark
Polybond Damien haha , just out of interest what’s the
dimensions of the studio, I’ve a room 6mtrsx4mtrsx3.6mtrs height only reason I ask is can you shoot at the 200mm
end of your lens or are you quite close to your models.
Regards Derek
Damien
Do you mind me asking what the dimensions of your studio are. I was trying to gestimate it from your Zeiss 21mm article.
Hi Derek,
Thanks for your kind words. I feel I’ve used 10% of the rooms potential. I’ve not even introduced a prop yet either. I’ll get onto the Russian Velvet painted area next shoot too once I’ve Polyboned it ;)
Regards,
Damien.
Loving those studio shots, especially the converted
green backdrop shots.